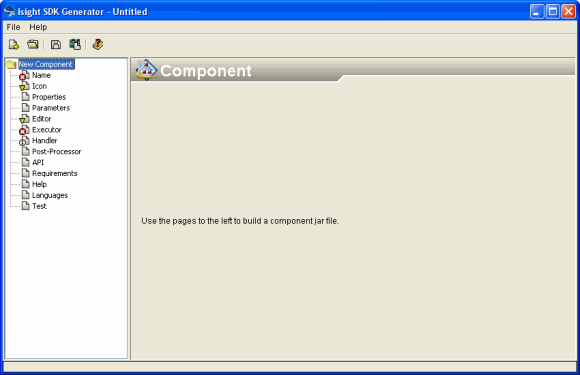
Launch the SDK Generator using one of the following methods:
Windows: Execute the sdkGenerator.exe file located in the <Isight_install_directory>\<operating_system>\code\bin directory.
Linux: Execute the sdkGenerator file located in the <Isight_install_directory>/<operating_system>/code/bin directory.
You can also access this interface from the Design Gateway
by selecting SDK Generator from the Tools
menu.
The SDK Generator dialog box appears.

Click each category in the list on the left side of the SDK Generator
dialog box, and specify the information as necessary.
After clicking the Name option on the left side of the SDK Generator dialog box, do not change the component name in the Full Name text box and attempt to reload the component. If you must change the name, change it, save the component, and close the SDK Generator. Then you can restart the SDK Generator and reload the component successfully.
When you have specified the information, go to the Test category and
try testing your Editor and/or Executor.
Make sure that the package name that you specify for the wrapper classes matches the package names used for the actual Java classes. This package name will be used as the path in the jar file and must match the actual package name.
You can save the jar file for your component at any time using the
Save option in the File
menu or by clicking Save  on the toolbar.
You can publish the component to the Isight
Library at any time by clicking Publish  .
.