Specifying a Workbook | ||
| ||
In the simulation process flow, double-click the Excel icon.
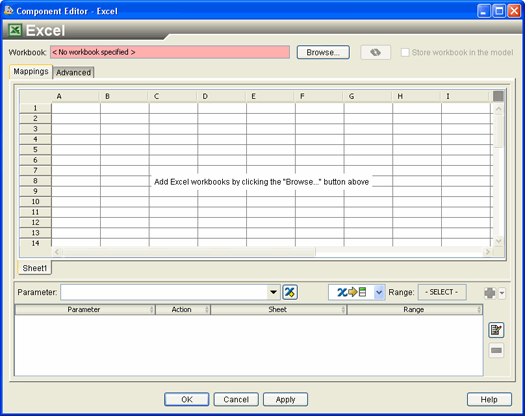
The Excel Component Editor appears.
Click SpringCalcs.xls, and click Open.
If you have cells named in the Excel workbook, Isight can automatically create parameters for you. In this example there are some cells in the Excel workbook that are already named, and you will use this feature to create some of the parameters automatically.
The workbook is loaded into the component editor, and the Named Cells Found dialog box appears.
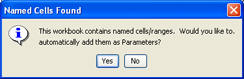
Click Yes.
The Named Cell/Ranges dialog box appears, allowing you to guide Isight through the automatic parameter creation process.
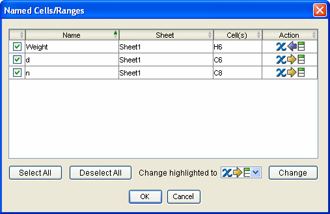
This dialog box shows how Isight will automatically create parameters based on the named cells in Excel. Three of the cells are named Weight, d, and n. The cells that have these names are described in the window. By default, Isight will create parameters d (WireDiameter) and n (Numberof) as input parameters (as shown by the
 icon in the Action column), and the parameter
Weight as an output parameter (as shown by the
icon in the Action column), and the parameter
Weight as an output parameter (as shown by the  icon in the Action column).
Click OK to accept the default values.
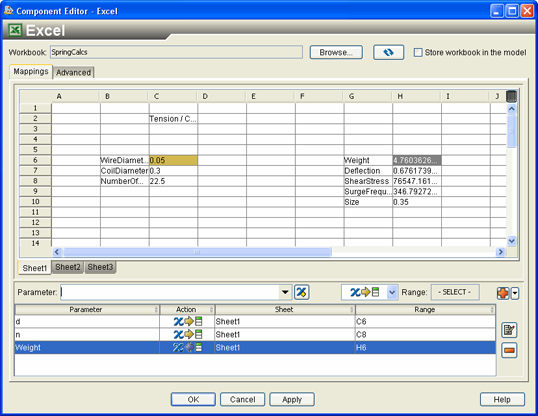
You are returned to the Excel Component Editor, and the contents of the workbook are displayed.