Click Lock & Edit on the left side of the WebLogic Administration Console.
Click Deployments on the left side of the console.
Click Install.
The Install Application Assistant screen appears.
Using the Location links, navigate to the following directory:
<SEE_install_dir>/<os_dir>/reffiles/SMAFIPserver/weblogic/
Choose the file for the application you want to deploy:
- webdashboard.war
- webtop.war
- federation.ear
Click Next.
Verify that Install this deployment as an application is selected, and click Next.
The Select deployment targets screen appears.
Specify the Managed Server that will host the application. This server must be running before you attempt to deploy an application to it. For more information, see Starting the Managed Servers.
Click Next.
The Optional Settings screen appears.
If desired, change the entry in the Name text box.
Click Next.
Click No, I will review the configuration later, and click Finish.
Click Activate Changes in the upper left corner of the console.
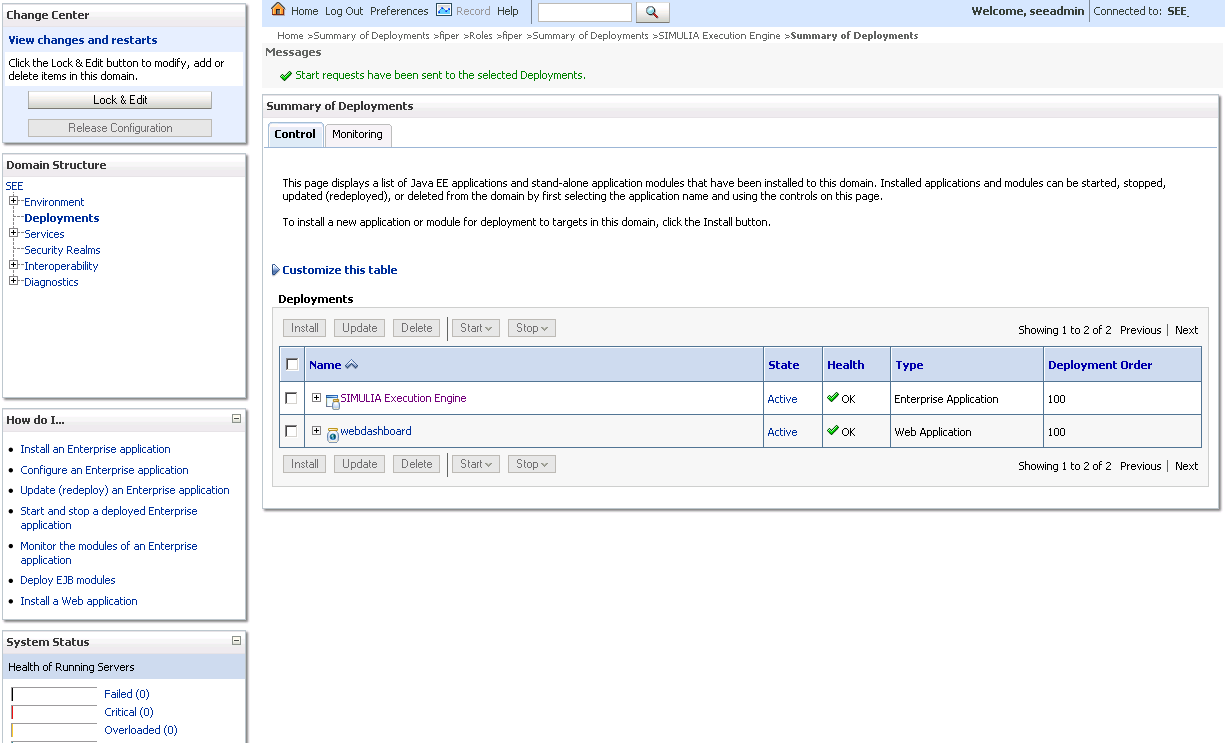
Click the check box that corresponds to the deployment in the Deployments table on the right side of the console.
Click Start, and select Servicing all requests from the menu that appears.
Click Yes to confirm the deployment.
Verify that the deployment was successful.
It should be listed as Active in the State column in the Deployments table.
Repeat step 1 through step 16 for all of the applications that you want to deploy.
Proceed to one of the following sections, based on your deployment: